Are you Bored and Have a Lot of Jewelry? Make Your Own Earring Holder!
Are you an earring or enamel pin collector? Are you the artsy type that loves arts and crafts? Are you someone who doubts your creative abilities? Or maybe you’re just bored out of your mind. Then look no further, I have a simple and beautiful way for you to show off your collections. Here’s what you’ll need:
- A picture frame
- A thin fabric that you can poke earrings or pins through such as lace from an old, unwanted shirt. (I recommend testing a few fabrics to see which one will work best. Also, make sure that you have a piece that is at least slightly larger than your frame)
- Paints, stickers, glitter, or any other material you wish to decorate your frame with
- A hot glue gun
- Scissors
- A pencil
- A washable marker or chalk to mark your fabric with
- (Optional: yarn, thick string, or wire to use if you wish to hang your frame somewhere and Mod Podge to protect your paint layer)
Once you have everything you need, you will be able to make your earring holder in no time. Here’s how you do it:
- First, you need to remove the cardboard backing and glass of your frame. I recommend storing them in a safe place for future use.
- Once you have those pieces out of the way, you can decorate your frame. I suggest doing the messy decorating like painting, gluing, or using Mod Podge now so that you don’t ruin your fabric later. (If you are planning on hanging your frame, also glue a string or wire loop to one of the back edges of the frame)
- After your frame has dried, flip it over and locate the wire pieces that were used to hold the backing down. Carefully push these pieces down so that they lay flat on the frame.
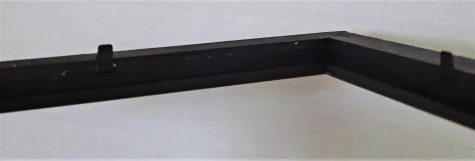
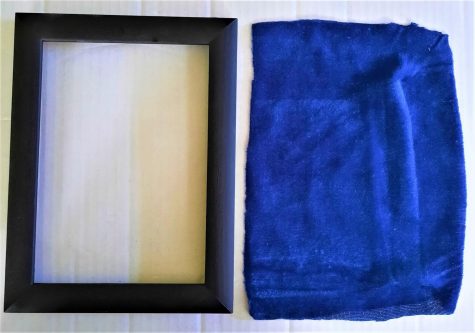
Bend down the wires on the back so that they lay flat on the frame. (Photo by Sarah Terletsky) - Next, flip your frame back over and retrieve your fabric. As you can see, I chose a thin, velvety material. Lay the fabric out on a flat surface and lay the frame on top. Take your marker, chalk, or other marking tool and trace around the outside of the frame. Keep in mind that this doesn’t have to be precise, just make sure that the fabric is at least slightly larger than the frame.
Lay your frame over the fabric and trace around it. I used white chalk to trace my frame, but it’s not visible here. (Photo by Sarah Terletsky) - After you’ve traced, set the frame aside and cut out your piece of fabric. Lay it over your frame and double check to make sure it is the minimum size.
Double check to make sure your fabric is the right size. As you can see mine is rough around the edges but that’s okay, as long as it is a little bigger than the frame. (Photo by Sarah Terletsky) - Once you have your fabric and frame ready, you can start the gluing process. Start by flipping the frame over and looking for the inner edge, as shown in the picture. (It’s a little lower than the rest of the frame.)
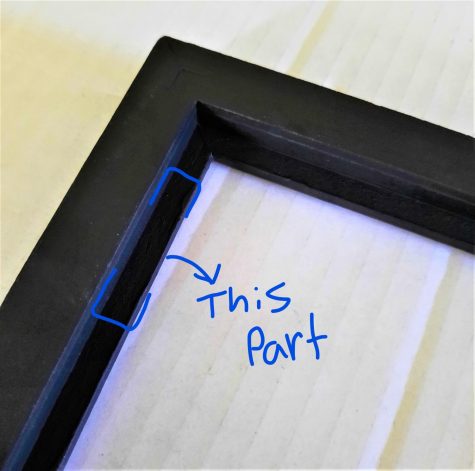
This is the inner edge; it is slightly lower than the rest of the frame. (Photo by Sarah Terletsky) - Then, choose a side to start with and put some glue along the inner edge. Align the corresponding edge of the fabric with the side of the frame you are working on and use the pencil to push the fabric against the glue.
- Continue this process around the entire edge until all your fabric is fully attached. Make sure that you are pulling the fabric tightly to the edges of the frame as you glue so that it will be able to hold the weight of your jewelry.
- After your fabric is attached, you might have some excess fabric like I did. You can just trim that off with scissors to neaten it up.
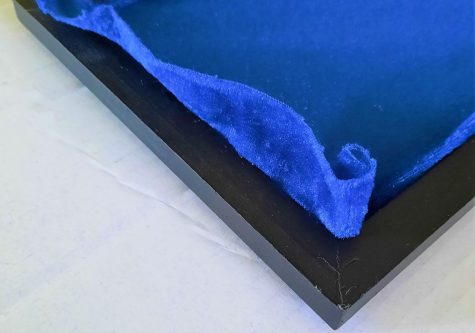
There might be some excess fabric that you will have to trim off. (Photo by Sarah Terletsky)
Now you have a wonderful earring and pin holder! All you have to do is attach your collection to your frame and admire your work. Did you have fun? Feel free to share your experience by leaving a comment.
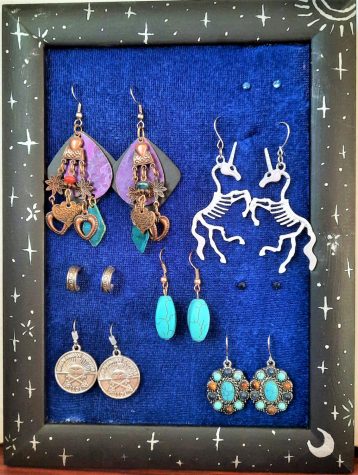
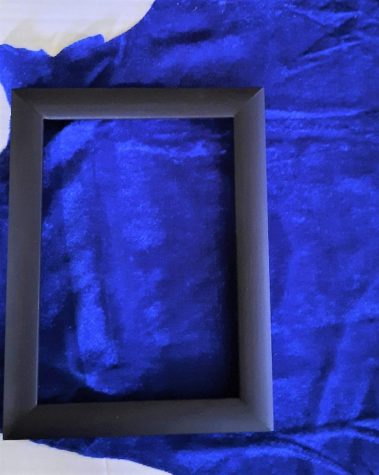
This is my finished frame! I added a bit of detail with a silver paint marker because I thought the black was a little too plain.